The original guide does a fairly good job of explaining how to create a theme. We will revisit this topic, create an example and add any comments that may be useful for users setting up a theme for the first time. Lets get started.
We are going to create a new theme that will be based on Luma theme. We will call if Techflarestudio/Base.
We will create the following files and directories.
- app/design/frontend/Techflarestudio/Base/theme.xml - declare the theme
- app/design/frontend/Techflarestudio/Base/registration.php - register the theme
- app/design/frontend/Techflarestudio/Base/etc/view.xml - theme configuration, for example, widget configuration, breakpoint conditions
- app/design/frontend/Techflarestudio/Base/etc/i18n - translation files
- app/design/frontend/Techflarestudio/Base/web/css/source - these are dynamic files that are processed by server, for example, less
- app/design/frontend/Techflarestudio/Base/fonts - this is where you would put your custom fonts or icons
- app/design/frontend/Techflarestudio/Base/images - images that you use in the theme
- app/design/frontend/Techflarestudio/Base/js - all javascript files
You can find the available themes in Magento admin Content->Themes section.
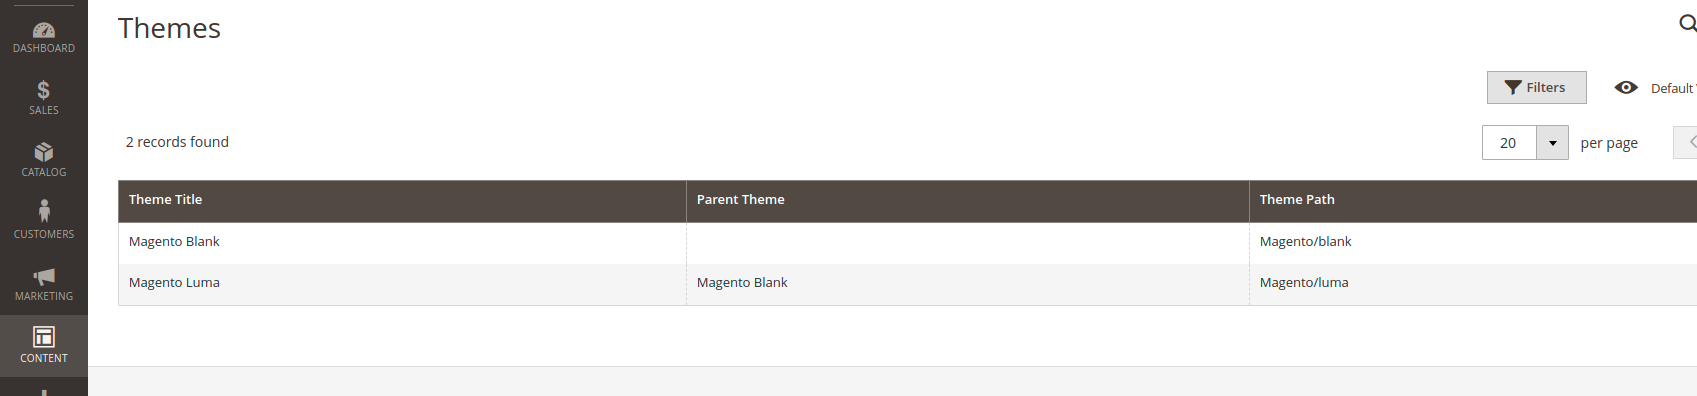
The 2 default themes available ar Magento/blank and Magento/luma. Both themes cover the core functionality. Blank is a barely styled, just enough for the functionality is usable. Luma however is a child of blank theme and is a reflection of the web trends during the phase it was built (~2015).
<?xml version="1.0"?>
<theme xmlns:xsi="http://www.w3.org/2001/XMLSchema-instance" xsi:noNamespaceSchemaLocation="urn:magento:framework:Config/etc/theme.xsd">
    <title>Techflarestudio Base</title>
    <parent>Magento/luma</parent>
    <media>
        <preview_image/>
    </media>
</theme>Then you need to register your theme so that autoloader can find it.
<?php
\Magento\Framework\Component\ComponentRegistrar::register(
    \Magento\Framework\Component\ComponentRegistrar::THEME,
    'frontend/Techflarestudio/Base',
    __DIR__
);These are the only 2 files that are required in order to enable and apply your theme. If you go to admin panel you should be able to see the theme.
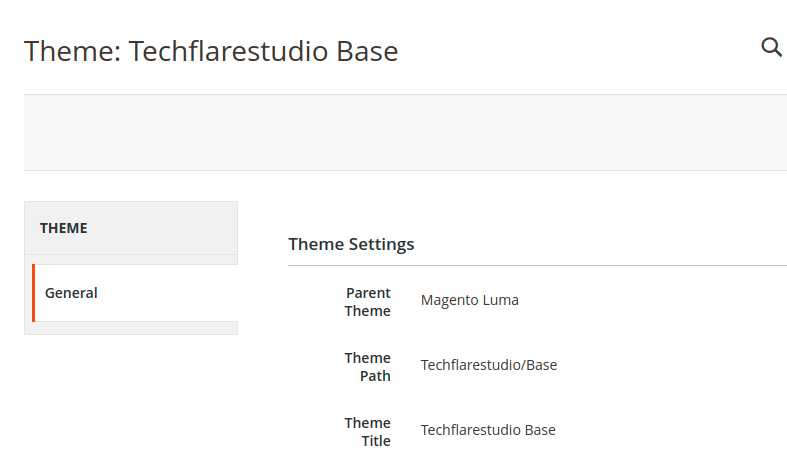
You can apply the the by going to Content->Design Configuration->Choose store view and in applied theme select the newly created theme. After applying the theme you will see exactly the same styles as you would for default Luma theme. If you do it means that you did everything correctly. Now you are able to customize and create modifications in the newly created theme.
Lets take a look at an example.
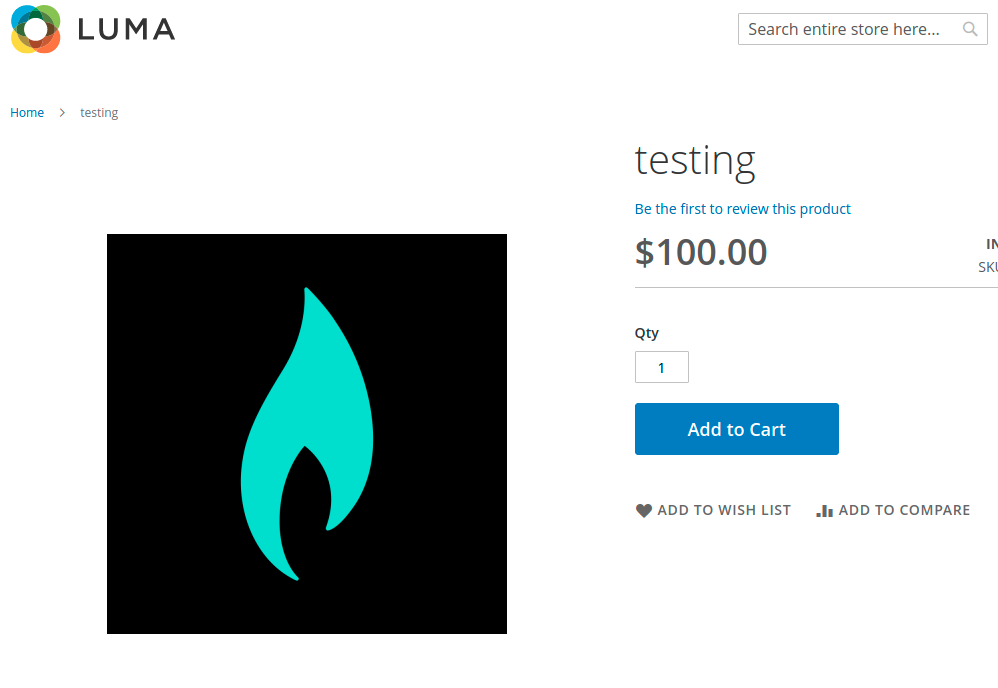
We want to modify the size of the product page main image. First we need to find where the image is defined. Assuming that the native gallery is used we can see that the Gallery block class contains the following:
...
'thumb' => $image->getData('small_image_url'),
'img' => $image->getData('medium_image_url'),
'full' => $image->getData('large_image_url'),
...Therefore we know that we need to modify the size for medium_image_url and large_image_url.
In order to modify the themes configuration we have to copy over all of the view.xml file. Simply take the vendor/magento/theme-frontend-luma/etc/view.xml and copy over to your theme-directory/etc/view.xml. Unfortunately the whole file has to be rewritten - no fallback mechanism.
Once you have the file in your theme, find the nodes by id and change the parameters.
<image id="product_page_image_medium" type="image">
    <width>400</width>
    <height>400</height>
</image>Since Magento is serving images from cache and resize does not happen on every request you will need to resize the images manually. You can process this by running the following command.
bin/magento catalog:images:resize
If you have many products and images this could take a long time so you may want to do this async by using message queue to process this.
That is it. After you have resized the images you should be able to go to product page and see the image in the newly configured size.