
Sometimes store owners value simplicity and by default the product edit form is anything but that. If you couple that with the fact that usually stores have dozens of custom attributes and sections for 3rd party vendors we are looking at a very large form. Magento attempts to deal with this using collapsible sections however even so the view is too complex for most users.
In this article we will explore how we can hide attributes and sections of attributes from admin product view. This can allow us to simplify the view by removing the sections we do not need and making it easier for store owners to do their work. Lets get into it.
How attribute form is built
Before we start lets see how the product edit view is implement. The part we are interested is the attribute form. If we look into the source we can see that the form is implemented as a ui component.
<referenceContainer name="content">
    <uiComponent name="product_form"/>
</referenceContainer>The ui component is defined in Catalog module. The section we are interested is how the data is being passed into the component. Because we want to modify the form to hide certain fields.
<dataSource name="product_form_data_source">
    <argument name="data" xsi:type="array">
        <item name="js_config" xsi:type="array">
            <item name="component" xsi:type="string">Magento_Ui/js/form/provider</item>
        </item>
    </argument>
    <dataProvider class="Magento\Catalog\Ui\DataProvider\Product\Form\ProductDataProvider" name="product_form_data_source">
        <settings>
            <requestFieldName>id</requestFieldName>
            <primaryFieldName>entity_id</primaryFieldName>
        </settings>
    </dataProvider>
</dataSource>The important bit here is the data provider declaration. As we can see that we have a specific class that provides the data.
public function getMeta()
{
    $meta = parent::getMeta();

    /** @var ModifierInterface $modifier */
    foreach ($this->pool->getModifiersInstances() as $modifier) {
        $meta = $modifier->modifyMeta($meta);
    }

    return $meta;
}The following function is responsible for processing the field meta data and passing it to the UI component. We could hook right in here with a plugin and modify the data that is returned. However in this example we will go one level deeper and figure out how data is collected for each field and modify it there.
Ok, so now we now that the meta data is collected here. Next lets see how the modifier instances are declared. For this we need to take a look into the di.xml file.
    <type name="Magento\Catalog\Ui\DataProvider\Product\Form\ProductDataProvider">
        <arguments>
            <argument name="pool" xsi:type="object">Magento\Catalog\Ui\DataProvider\Product\Form\Modifier\Pool</argument>
        </arguments>
</type>First we can see that the pool argument that was used in the data provider is replaced with a new class Magento\Catalog\Ui\DataProvider\Product\Form\Modifier\Pool. If you will notice this is a virtual class that is only used in di.xml to reference the pool. You can read more about types and virtual types in our previous article How to use type and virtual type declarations.
<virtualType name="Magento\Catalog\Ui\DataProvider\Product\Form\Modifier\Pool" type="Magento\Ui\DataProvider\Modifier\Pool">
    <arguments>
        <argument name="modifiers" xsi:type="array">
            <item name="custom-options" xsi:type="array">
                <item name="class" xsi:type="string">Magento\Catalog\Ui\DataProvider\Product\Form\Modifier\CustomOptions</item>
                <item name="sortOrder" xsi:type="number">70</item>
            </item>
        </argument>
    </arguments>
</virtualType>Here we can see that the modifiers are passed in as arguments for the newly defined virtual class. Each modifier defines its own implementation of data provider.
Example for hiding an attribute section
Next we will show you how to modify the data provider to hide a section without rewriting native code.
Declare plugin
We will create a plugin in our module. This will allow us to hook into the data provider class and modify the meta data for the form component.
<?xml version="1.0"?>
<config xmlns:xsi="http://www.w3.org/2001/XMLSchema-instance" xsi:noNamespaceSchemaLocation="urn:magento:framework:ObjectManager/etc/config.xsd">
    <type name="Magento\Catalog\Ui\DataProvider\Product\Form\Modifier\CustomOptions">
        <plugin name="techflarestudio_attributes_magento_catalog_ui_dataprovider_product_form_modifier_customoptions" type="Techflarestudio\Attributes\Plugin\Magento\Catalog\Ui\DataProvider\Product\Form\Modifier\CustomOptions"/>
    </type>
</config>Create our plugin class.
<?php

namespace Techflarestudio\Attributes\Plugin\Magento\Catalog\Ui\DataProvider\Product\Form\Modifier;

/**
 * Class CustomOptions
 */
class CustomOptions
{
    /**
     * @param $subject
     * @param $result
     * @return mixed
     */
    public function afterModifyMeta($subject, $result)
    {
        if (isset($result['custom_options']['arguments']['data']['config'])) {
            $result['custom_options']['arguments']['data']['config']['visible'] = false;
        }

        return $result;
    }
}
As you can see we are using and after plugin which allows us to modify the result of a method. We are hooking into modifyMeta method which allows us to change the component configuration as an array.
The important part here is the
$result['custom_options']['arguments']['data']['config']['visible'] = false;
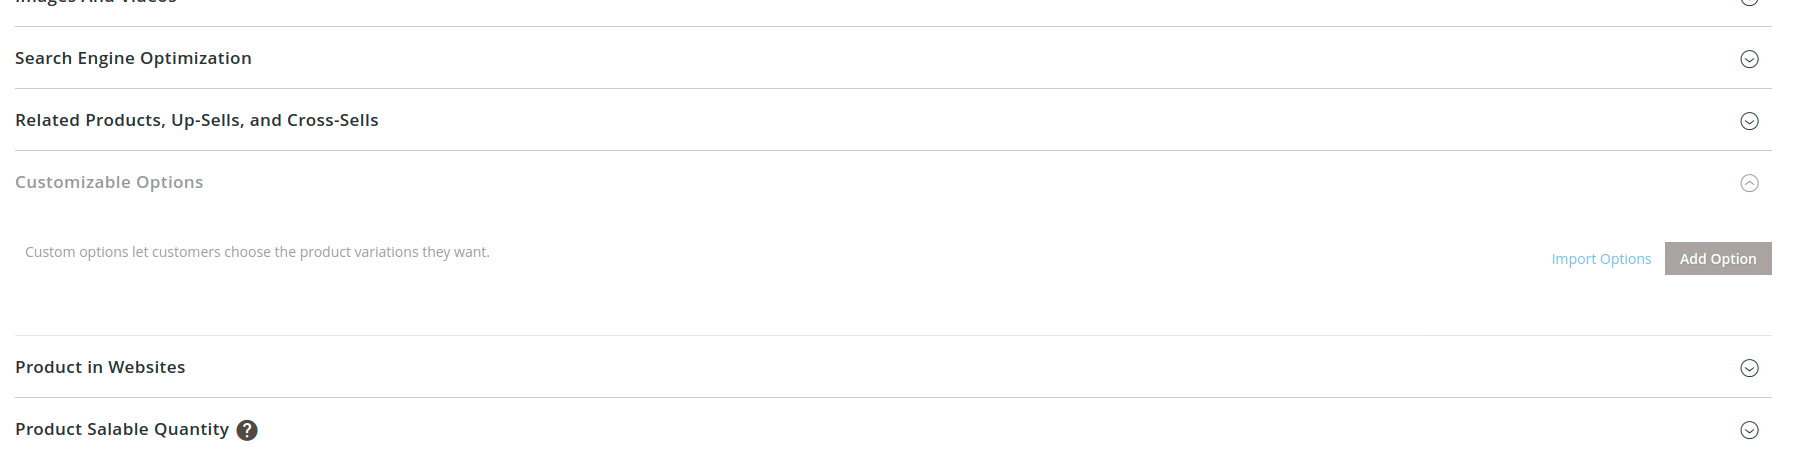
We are defining a new property visible and setting it to false. This will ensure that the Customizable Options section is hidden.
In a similar manner we could disable and attribute or a section. Instead of using the visible property we could set a disabled property. The end result would look similar to below.
Hopefully this gives you some ideas on how to modify the attribute sections and a better understanding on how the UI components are utilized in Magento 2.