

In this post we will be using an old Joomla site and migrating the posts, categories, tags to a fresh Wordpress installation. We will install the site using Docker image and use a free plugin to migrate the data. Lets get started.
First we will need to install the Wordpress on our local machine. I am using Ubuntu 20 but since this is docker it can be easily replicated on any other capable OS. You will need to have docker and docker-compose already installed.
We can follow the guide in the official Wordpress image. The installation is fairly straightforward - set up the docker-compose.yml file and run the container. The image sets us up with 2 containers - the webroot with wordpress installation and database which also has a volume to ensure data persistence.
Once you have the containers you can run the installation in your browser http://localhost:8000/. Set up the language, admin user credentials and you are good to go. Once installed you will see the default page.
Installing Wordpress was simple and thanks to docker we did not even need a webserver or any software installed.
Now lets get to the Joomla migration part. In order to migrate the data we will be using FG Joomla to Wordpress plugin. So the first step is to install the plugin in Wordpress.
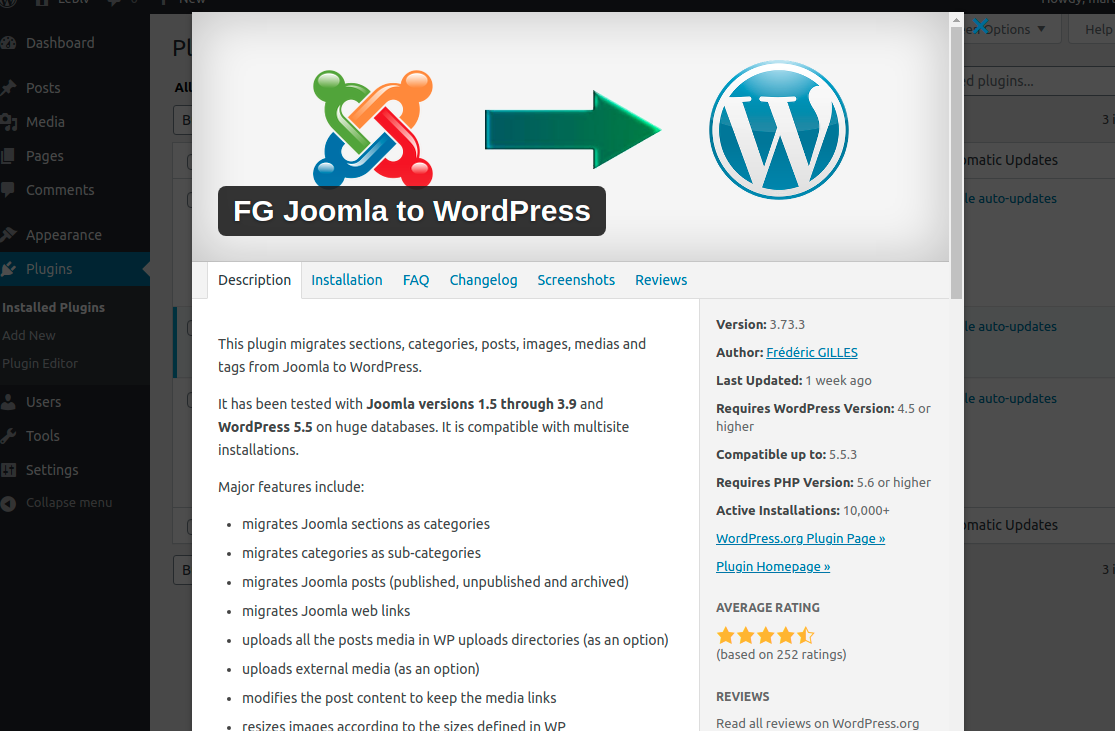
Installation in Wordpress is simple. Find the plugin in the Plugins section, install it and you will be able to see it in your installed plugins list.
Now we have the plugin which we will use to migrate the data from Joomla to Wordpress. Next step is to prepare the database where we are going to take the data from. This article assumes you have access to the Joomla files and are capable of creating an backup (mysqldump) file. Once you have the .sql file you will need to create a new database in your database container. At the beginning of the tutorial you set up the root user for the mysql container. Now you can use this user to create a new database.
docker exec -i database_container_name mysql -u root -pdatabase_root_password -e "create database joomla_database_name"
Next step is to import the .sql file into the new database:
docker exec -i database_container_name mysql -u root -pdatabase_root_password joomla_database_name < ~/path/to/database.sql
At this point we are ready to start the migration. Go into Wordpress admin panel. Tools->Import->Import Joomla (FG).
Here you will see a screen with configuration options like this:
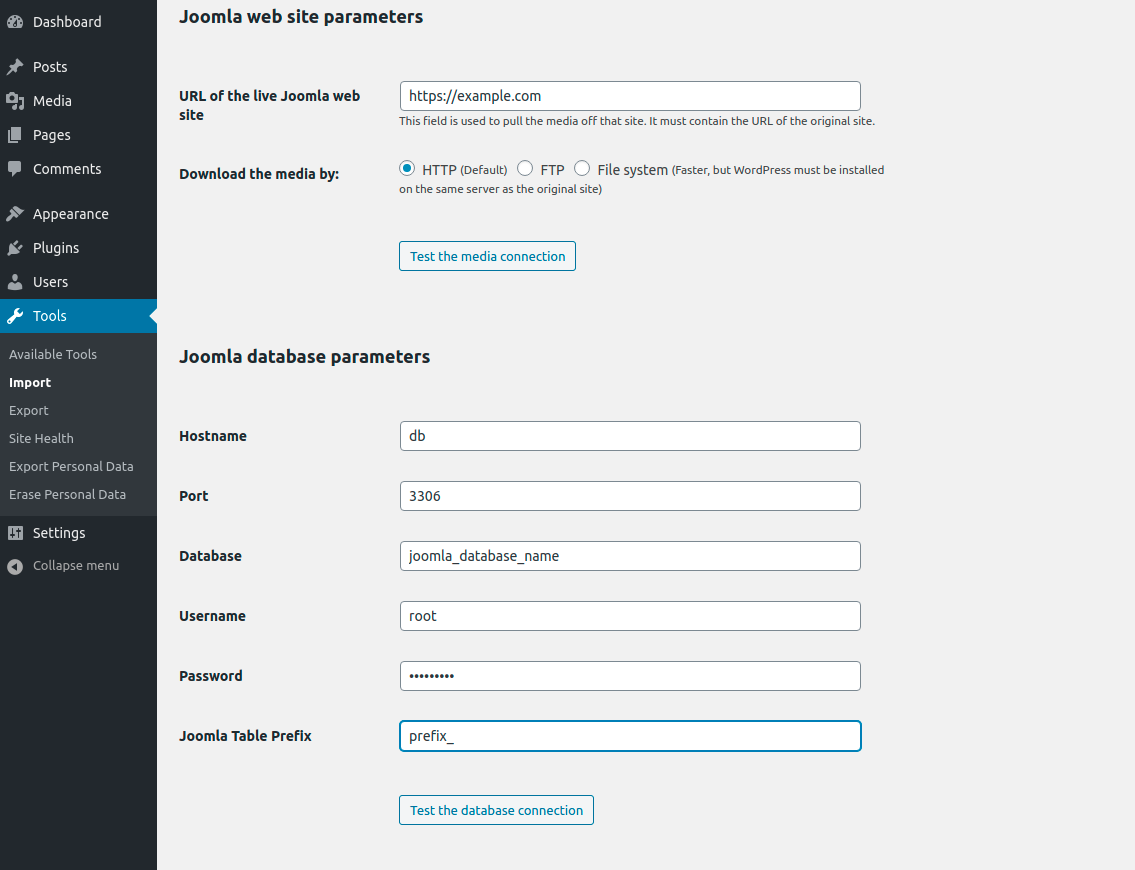
Fill in the information. There are a few things to note here:
- If the Joomla site is still live you can simply enter the live base url and you can migrate all media using HTTP protocol. Alternatively you can use FTP or File system options.
- Set up the database connection. Note that hostname should be the container alias. In default Wordpress image this is db. Then use the credentials you set up previously and the Joomla database that was just imported.
- Once ready test both the media and database connection. If you have any errors you will see a log below.
One issue we faced during this phase was an error during database connection. The error was something like this:
Fatal error: Uncaught Error: Undefined class constant ‘MYSQL_ATTR_INIT_COMMAND’ in
The error basically means that pdo_mysql PHP extension is missing. The default Wordpress docker image does not contain all of the required php extensions. Since there can be various extensions for custom plugins the default image contains only the core extensions.
There are multiple ways we can work around this. We could create new docker image based on the default one and install. There is a guide how to do it here. That seems a bit of an overkill for such a simple feature.
Luckily the docker-php-ext-install helper tool allows us to install the modules quite easily. Using this we can:
- Install the modules
docker-php-ext-instasll pdo pdo_mysql
- Make sure to enable the new modules
docker-php-ext-enable
To make sure the changes take effect make sure to reload apache service configuration. Bash into your wordpress container and reload the service:
service apache2 reload
Save the settings and start the import.
If you decided to use the import media function then be advised that some larger files may time-out due to the limits you set in the configuration. You will see the following errors:
Operation timed out after 3000 milliseconds with 8568372 out of 9717691 bytes received
If that happens you can set the timeout higher and re-import the data.
After the import is done you will see the following:
36 pages imported
88 medias imported
Don't forget to modify internal links.
IMPORT COMPLETED
=== END import 2020-12-07 23:19:43 ===
That is it. We have successfully migrated Joomla to Wordpress. There is a lot more work to do but the data transfer was fairly simple and definitively a good boost to start the project fresh.